
Fall Crafts for Children to Make at Home

When you’re out shopping for seasonal decorations, it’s easy to get carried away and end up with sticker shock. We have good news: these fall crafts make great decorations and only require inexpensive supplies you might already have around the house! As a bonus, they’ll keep your children entertained and give them a sense of accomplishment. Here are a few of our favorite simple fall crafts.
Fall Leaf Lanterns
Create a warm and inviting fall atmosphere in your home by upcycling glass vases or jars. Just take an existing glass piece, either one that’s lying around the house or one you find at the store. Add leaves to the outside, then place a small candle inside.
Supplies needed:
Glass vase or jar
Mod Podge
Brush for spreading Mod Podge
Leaves
Tea candle
This craft is easy for a child to make because it’s only two steps: add the Mod Podge, then add the leaves! Make this project more of an adventure by finding leaves outside, or buy artificial leaves at the craft store. Either way, you and your child can easily make these beautiful fall lanterns. Find a complete tutorial here.

Pine Cone Hedgehogs
Like the leaf lanterns, this craft can start off as an adventure — this time collecting pine cones! If the pinecones are damp, you can dry them off by baking them in the oven on its lowest setting. You can also buy artificial pine cones at the craft store if you’re a little less adventurous. These critters will be just as adorable no matter what they’re made of.
Supplies Needed:
Pinecones
Felt
Scissors
Glue gun
Googly eyes
The most complicated part of this project is cutting out the heads and noses. If the rounded triangle heads or circle noses come out imperfect, it will just look more natural! Once you’ve cut out the shapes, use your hot glue gun to adhere the googly eyes and nose to the head, then carefully place and glue the head onto the narrow end of the pinecone. Everyone in the house can make one of these cute creatures. Find a complete tutorial here.
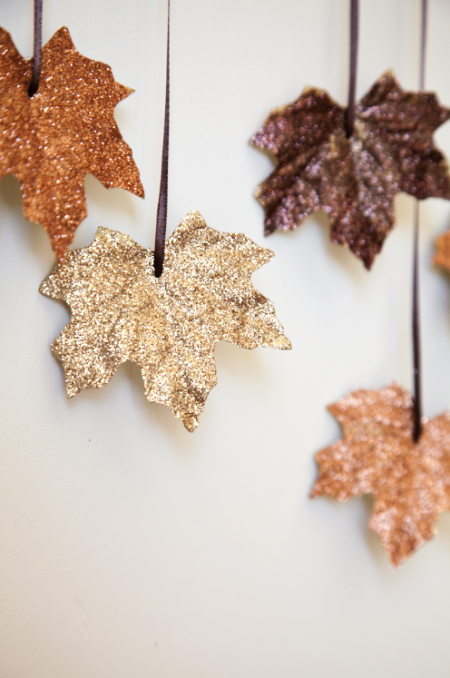
Falling Leaves Garland
This project works best if the leaves are artificial. That way, the sizing will be consistent, and they’ll take to the glue and glitter. This falling leaves garland is so easy that anyone in the family can help, and the end result is a beautiful decoration that will add some sparkle to your fall season.
Supplies Needed:
Artificial leaves
Glitter
Elmer’s glue
Paintbrush
Scissors
Hole punch
Ribbon
Use a paintbrush to apply Elmer’s glue to the leaves, sprinkle glitter over them, let them dry, then shake off the excess glitter. Once the glittering is complete, punch holes near the center bottom, and thread a 4-6” string of ribbon through. Tie the small string to a longer string that you can hang up in your house. Find a complete tutorial here.
With over 57 years of academic excellence, St. Teresa Catholic School, a Titusville private school, provides a quality education that challenges and empowers students to develop to their full potential. Students foster qualities that are essential for lifelong learning and are equipped for future success. To learn more about why St. Teresa is the perfect fit for you and your student, contact us today.